Karcepts KFSB-AP-XX Manuel d'utilisateur
Naviguer en ligne ou télécharger Manuel d'utilisateur pour Pour la voiture Karcepts KFSB-AP-XX. Karcepts KFSB-AP-XX User Manual Manuel d'utilisatio
- Page / 13
- Table des matières
- MARQUE LIVRES
Résumé du contenu
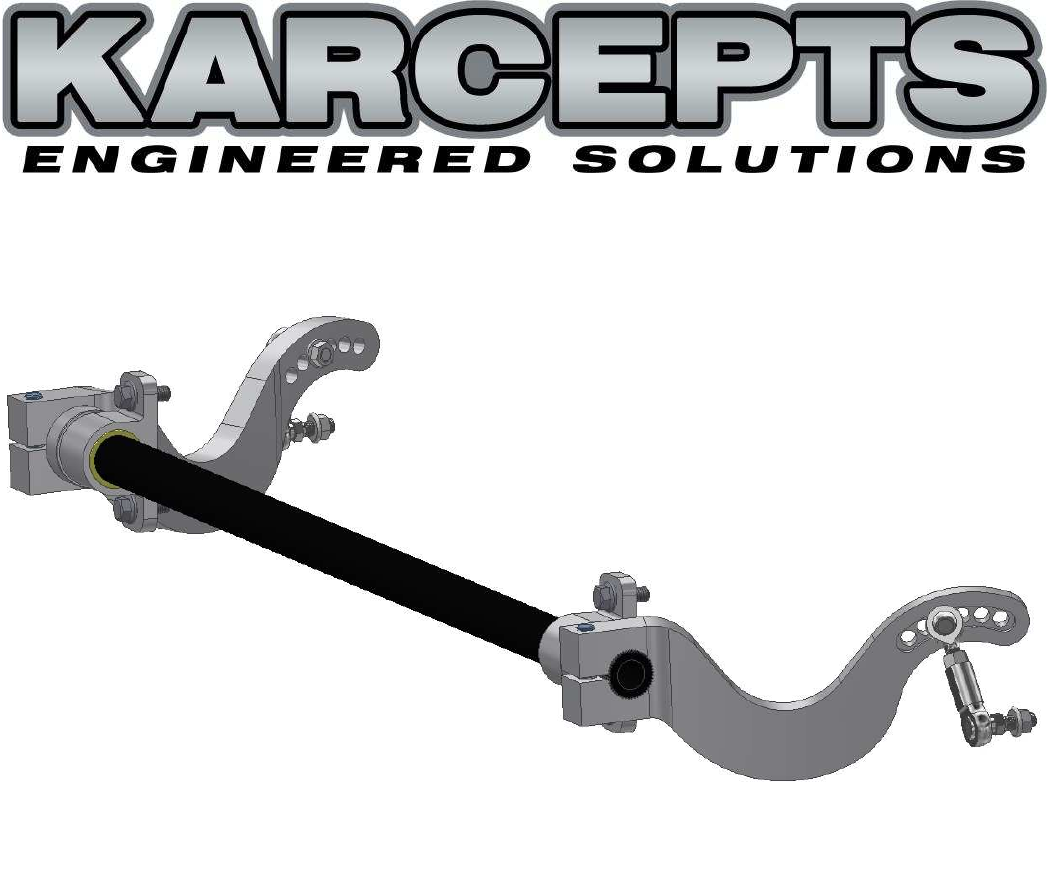
Installation Instructions for Part #: KFSB-AP-XX Karcepts Front Sway Bar Kit for 2000-2009 Honda S2000 Specifical
3. Quick Adjustment Setup (continued...) D. Lastly, for proper quick adjust functionality, the endlinks must be set to achieve maximum articulation
4. Quick Adjustment Procedure Re-install the splash shield, wheels/tires, and get the car back on the ground. The car is now ready to test the Quic
5. Quick Adjustment Troubleshooting If following the Quick Adjustment Procedure, there should be no issues completing Steps 1 & 2. If there is a
Disclaimer/Warranty: Due to the nature of high performance applications, Karcepts, Inc. products are sold without any warranty of merchantability or
Parts Included With S2000 Front Sway Bar Kit DESCRIPTION QTY SOLID SWAY BAR MOUNT 2 M10X25 FLANGE BOLT 4 SPLINED SWAY BAR CENTER SECTION 1 CLAMP
Note Please read these instructions in full before attempting installation. If you do not believe you are qualified in performing the necessary inst
1. Solid Mount/Center Section Installation A. Raise the front of the vehicle and support it with jack stands. B. Remove the front wheels, splash sh
1. Solid Mount/Center Section Installation (continued...) E. Install the solid mount/center section assembly onto the factory sway bar mounting brac
2. Sway Bar Arm Installation A. Slide the left sway bar arm over the splined end of the center section, leaving 1/16" of shaft protruding past
3. Quick Adjustment Setup The quick adjustment feature of this sway bar kit is dependent upon: 1. Arm installation position relative to center secti
3. Quick Adjustment Setup (continued...) B. Install the male half of endlinks into Hole #4 of each sway bar arm and secure with the 3/8" flange
3. Quick Adjustment Setup (continued...) C. Assuming all bolts and endlinks are tight (but with clamp collars still loose), center the sway bar asse
Produits connexes et manuels pour Pour la voiture Karcepts KFSB-AP-XX
 (13 pages)
© 2020, manymanuals.fr. Tous droits réservés | 1.038 s |
 Manymanuals.com
 Manymanuals.de
 Manymanuals.fr
 Manymanuals.it
 Manymanuals.pl
 Manymanuals.cz
 Manymanuals.es
 Manymanuals-pt.com
Commentaires sur ces manuels